
The 3 Step Roadmap to Improving the Acoustics in your Classroom + VIDEO
The 3 Step Roadmap to Improving the Acoustics in your Classroom
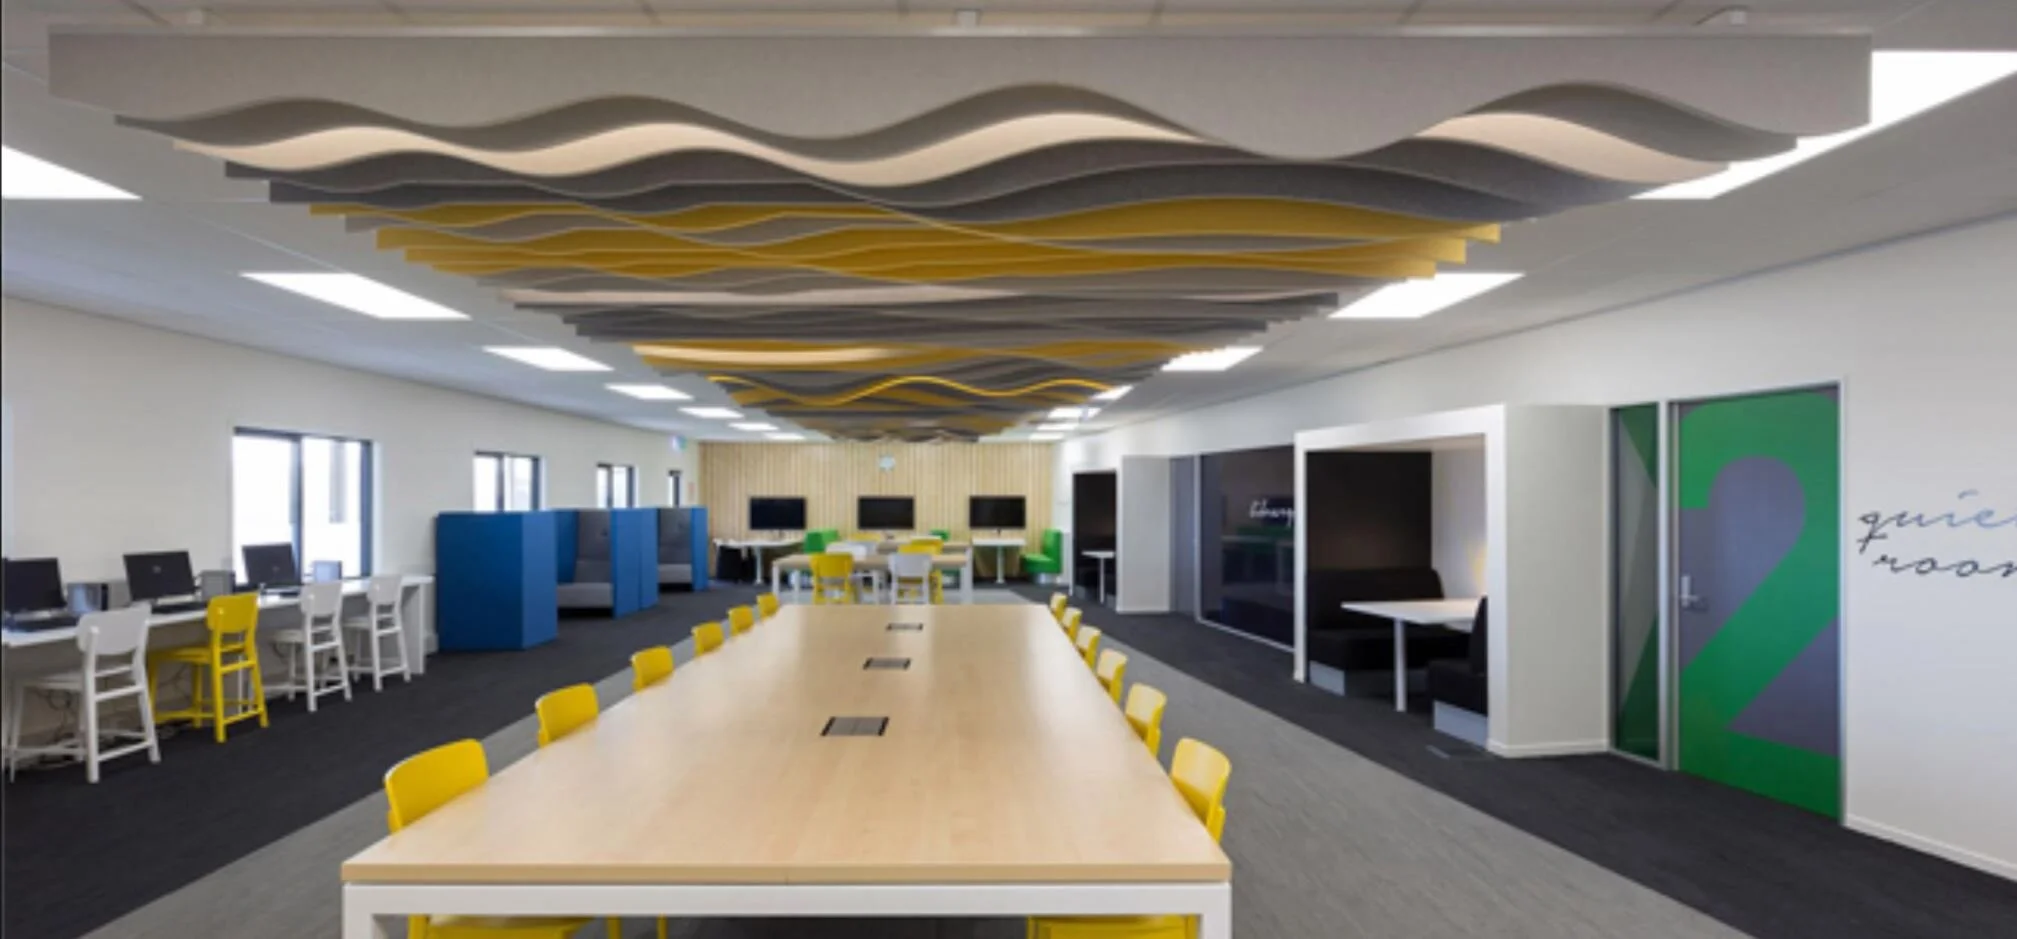
Are you having issues with noisy classrooms in your school that are making learning difficult for your students and communication difficult for your teachers?
Acousting treatment for classrooms is an effective solution to this widespread problem, and with a huge range of ceiling tiles, baffles and acoustic wall panels available for any budget, a great investment. But how do you understand what is needed or the best way to utilise your budget?
Need Help Now? Check out some Acoustic Solutions!
We’ll look at some questions and considerations below and form a simple roadmap towards an improve learning environment.
1. Understand the acoustic levels that you want to achieve
Minimising sound and improving the acoustics of your classroom is the action you will take, but what is the standard that you’re trying to reach? Worldwide, ambient noise levels standards are set by the Governing Education bodies and NZ is no different with safe noise standards set by the Ministry of Education.
Whether your goal is to raise your classroom to the Ministry of Education standards, or you are trying to improve the acoustics of classrooms that already meet the Ministry requirements, improving the learning environment is the result.
The first consideration is the reverberation time, with the MOE guidelines shown below

The next consideration is the Ambient noise level requirements as shown below.

Further to this you need to understand the NRC rating that you need to achieve and the intended decibel level of your classrooms See: Classroom-guide-to-understanding-decibels
2. Do an Acoustic Sound Assessment

In order to obtain good acoustical performances in classrooms, and understand the acoustic profile of each space, an assessment is undertaken to measure and assess all the factors discussed above.
Once this testing is completed, a plan can be made that best addresses the key areas for improvement, and reference can be made to requirements put forward by the Ministry of Education here. Note that the documents set the performance requirements for new schools and these are the benchmark for upgrading existing schools.
3. Decide on your design & installation budget
Right, so you’ve now got knowledge of your current acoustic profile including the dB standards you want to meet, so now you know need to know what it’s going to cost. You need to know your options and where you can save money.
The good news is that there are many options to suit any budget. The not-so-good news is that there are an array of design and installation contractors in the market – some good, and some bad!
In short, you have two options – put out your design and installation as a tender, or do a partnership model. The tender option will generally give you the lowest price, while the partnership model will give you lowest cost. Read our article titled Tender versus Partnership to help decide which way is best for you.
You’re on your way to a Quieter Learning Environment!
By assessing what ambient noise levels you want your classrooms to meet, and then working with a quality design and installation company, you will be able to work within your budget and get the best outcome possible.